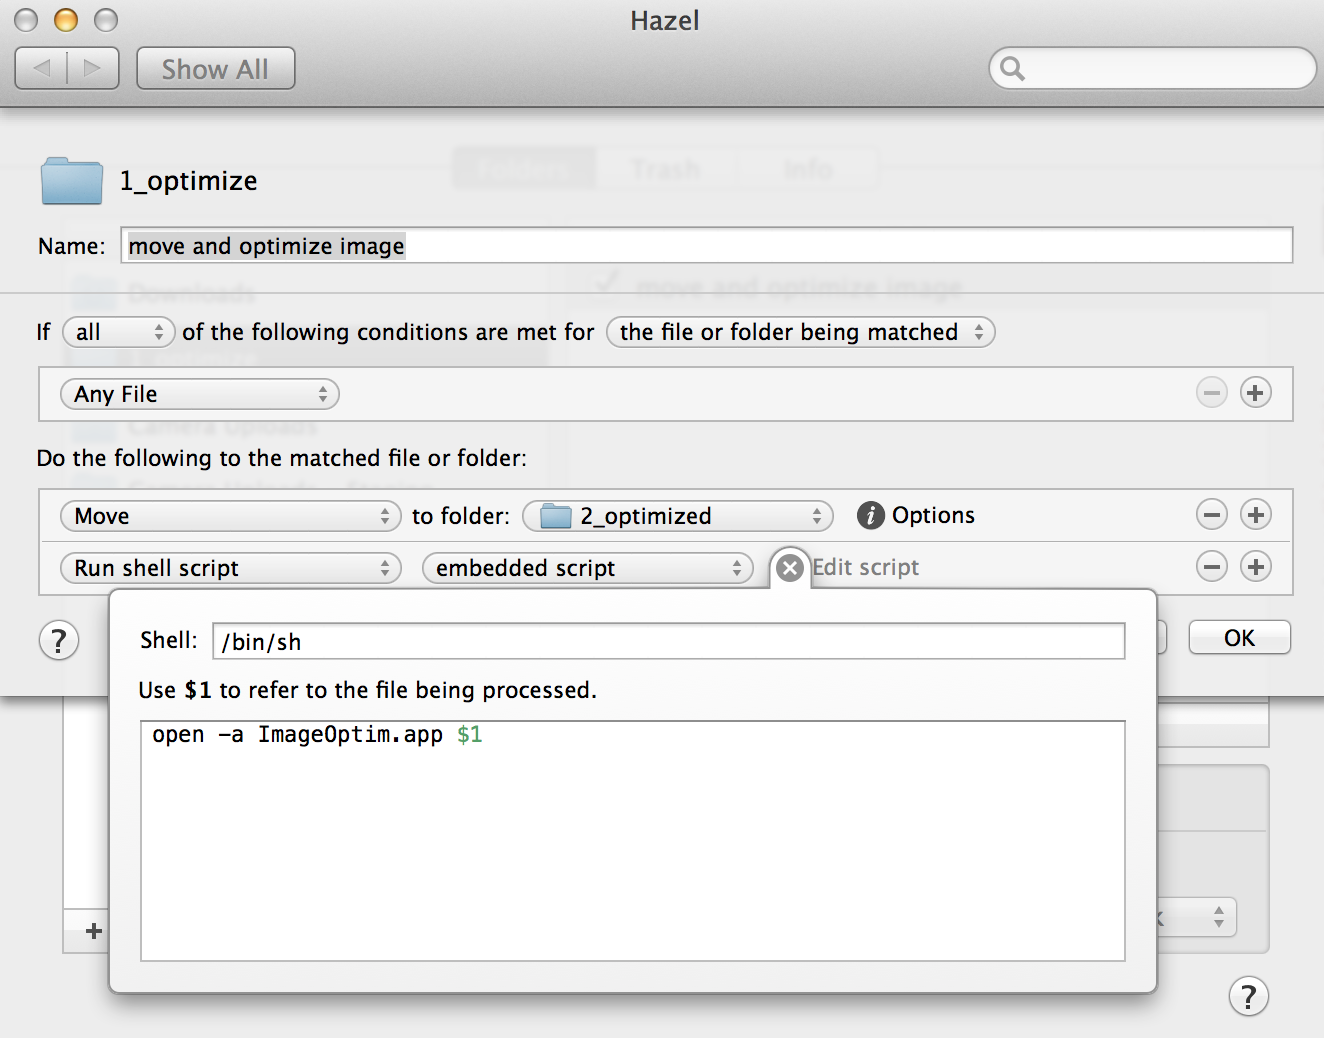
Hazel and ImageOptim for Easy Image Optimizations
ImageOptim is a fantastic utility to reduce the size of your images without impacting image quality1. I use it both for my web and iOS work, but it was not until today that I made it even better.
My Old Workflow
- Save whatever image I was working on to some folder
- Open ImageOptim
- Drag the image onto ImageOptim canvas
- ImageOptim does its work
- I move the optimized image to its final destination
My New Workflow
- Save whatever image I was working on to an “optimize” folder
- Hazel automatically moves to an “optimized” folder
- Hazel automatically kicks off ImageOptim and it optimizes the image
- I move the optimized image to its final destination

My responsibilities went from four steps to two; a 50% reduction. I will admit that it only saves me a minute or so each time, but I am all about reducing inefficiencies and friction in my life right now. In addition, because I was testing image quality vs. file size of various screenshot apps (Pixa, Little Snapper, and Voila) I already saved myself at least 30 minutes.
With a little bit more work I could simplify or even remove the final step. Example: step 4 could be easy and fast by leveraging Dropzone. Simply drag the optimized image to a dropzone and it will place it in the appropriate directory, upload to a site, attach to an email, etc.
-
The image used in this post was reduced 45% to 137KB. ↩︎